Local Stable Diffusion Setup - Diffusion Bee
The simplest and most user-friendly way to install Stable Diffusion locally is through the Diffusion Bee installer. Diffusion Bee is a graphical user interface (GUI) application that offers one-click installers in the form of installation packages for both Mac and Windows. Here are the steps to install Stable Diffusion using Diffusion Bee on Mac:
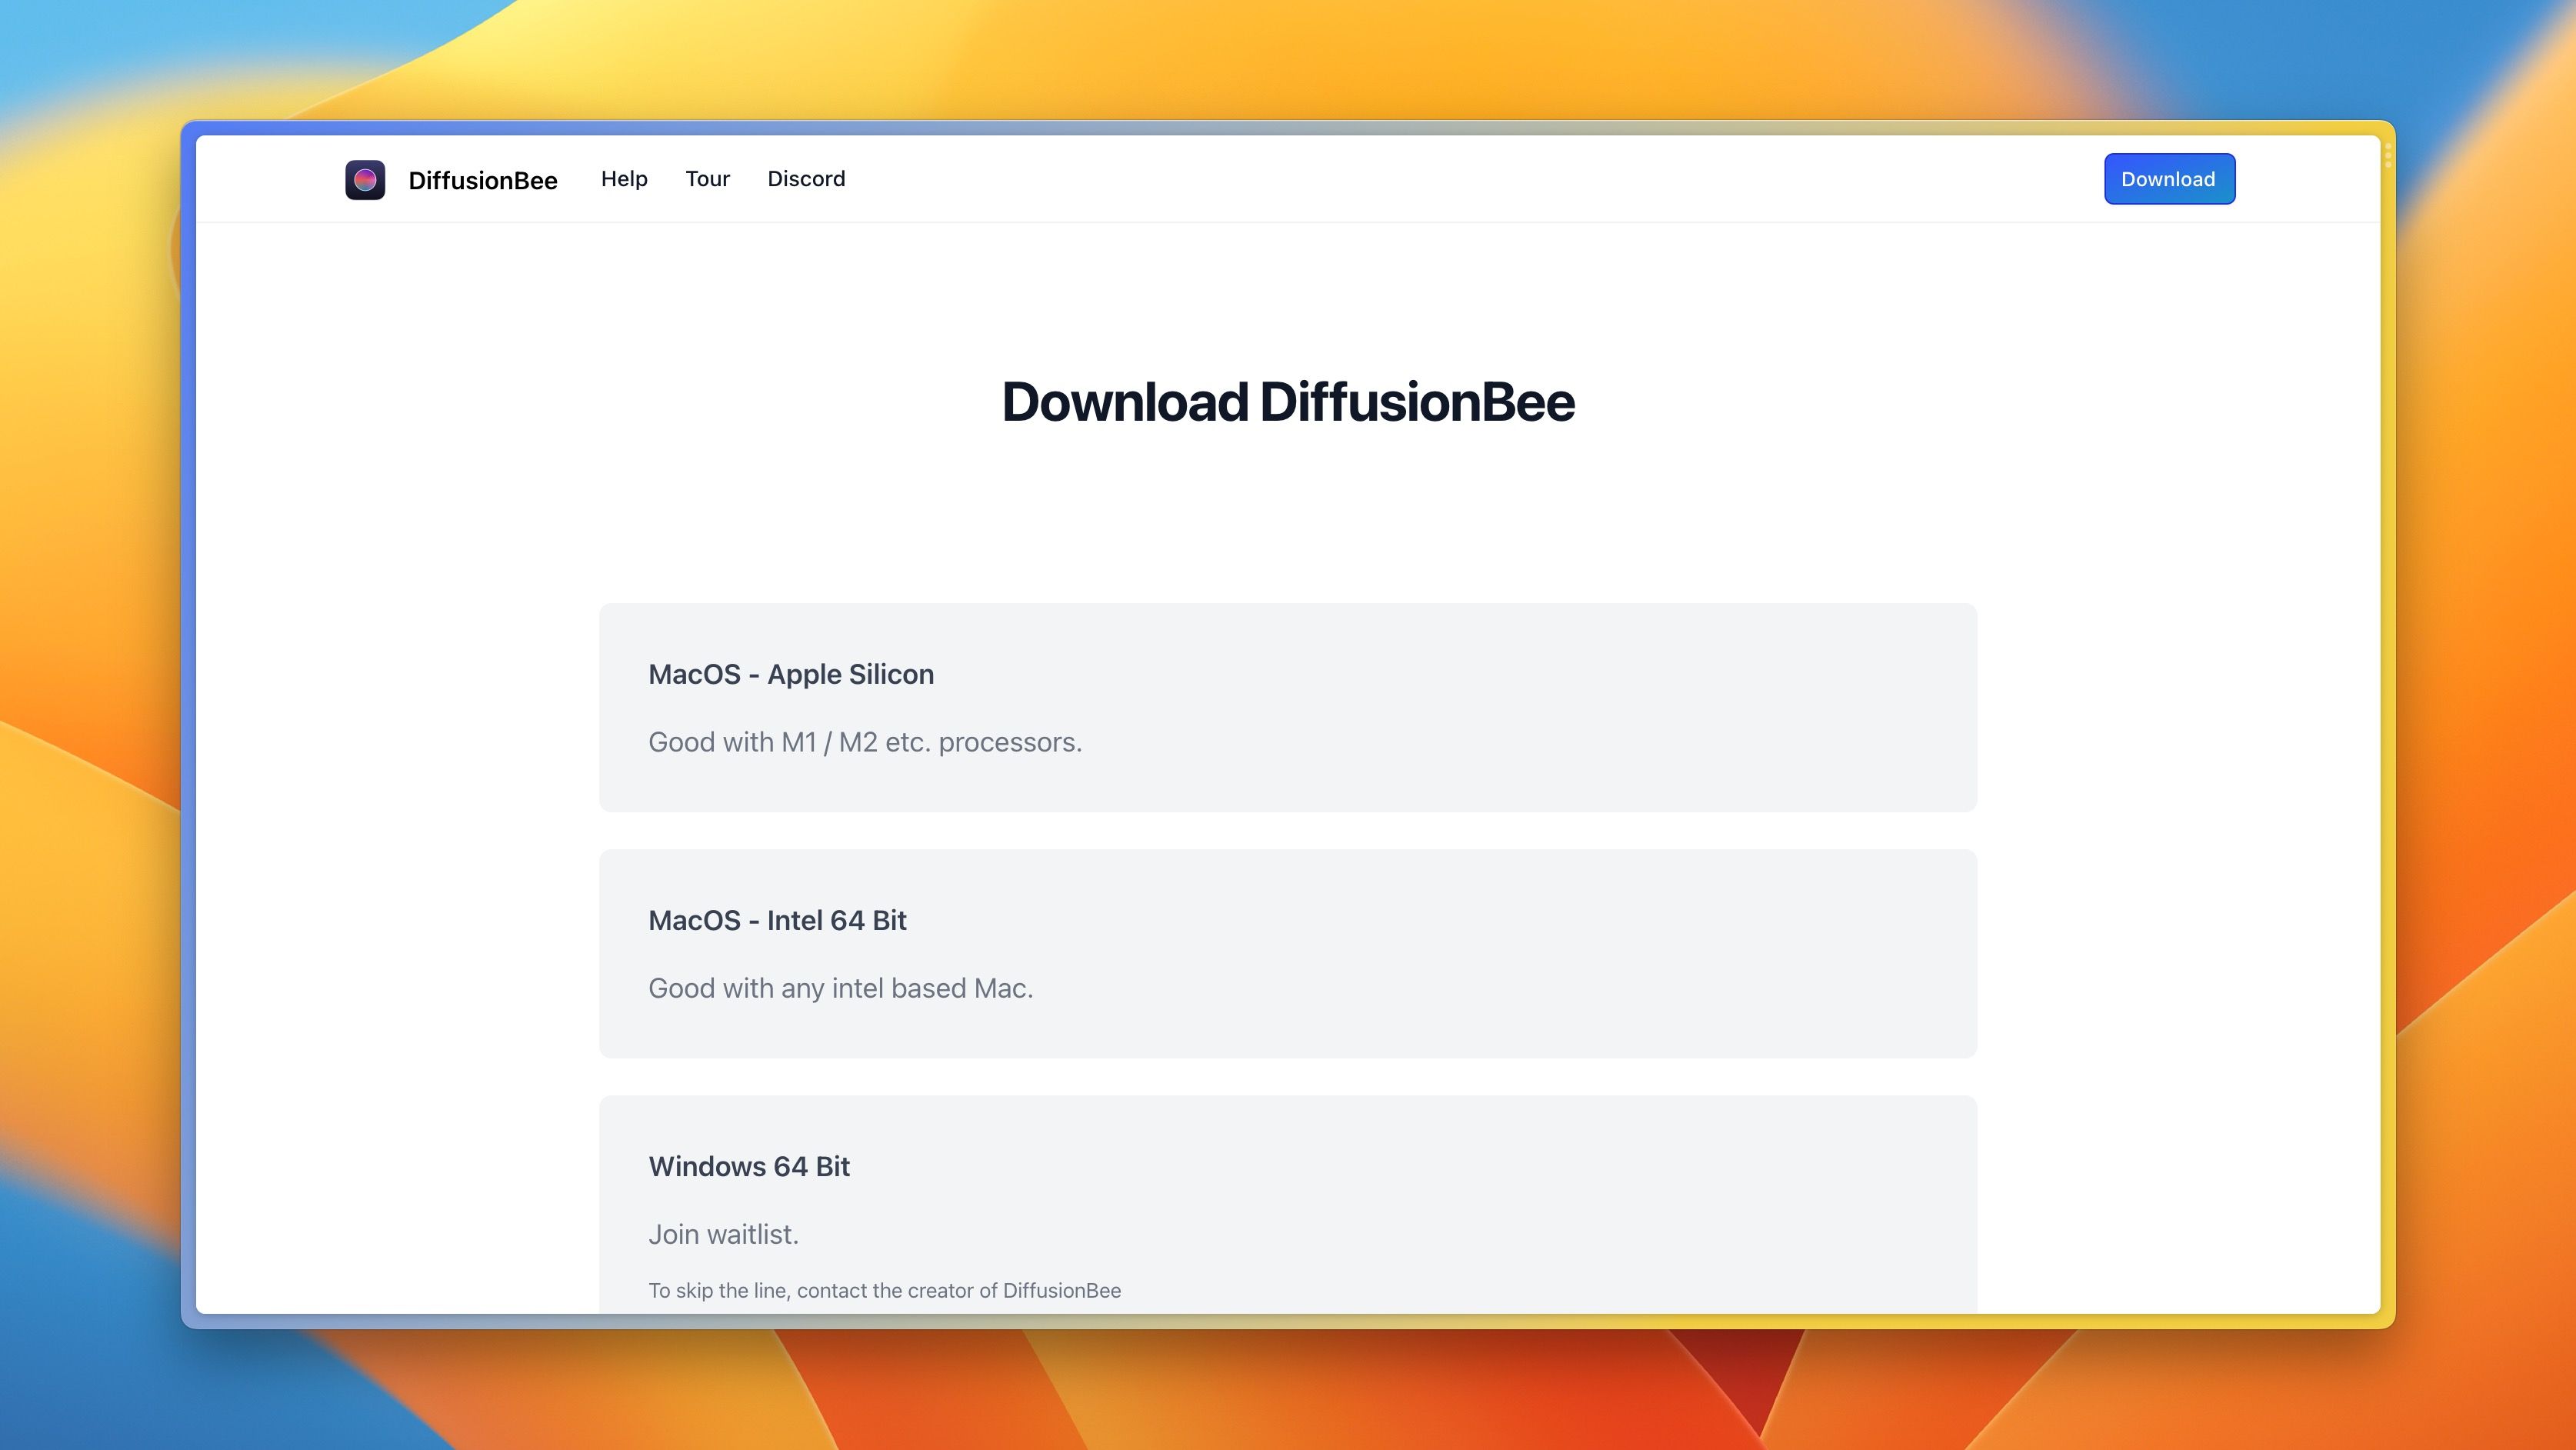
- Visit the DiffusionBee Download Page and download the installer. Make sure to select the correct CPU type.
- Double-click the downloaded dmg file in Finder to run it. The following window will appear.
- Drag the DiffusionBee icon from the left side to the "Applications" folder on the right.
That's it! After these steps, Stable Diffusion will be installed and ready to use on your Mac.
Generating Images
Depending on your computer's available computing power, generating images can take anywhere from a few seconds to several minutes. Click the Stop button to abort image generation. Use the "Save Image" link to save images to a location of your choice.
Clicking on an image opens a separate window displaying the image at full size.
Text to Image
The text-to-image feature generates images based on user-input text.

To create an image, simply enter a prompt and click Generate.
- The Prompt Ideas button opens a web page where you can browse a gallery for useful prompts.
- The Styles button provides a palette of commonly used terms that can be added to the prompt.
- The Options button offers the following settings:
- Num Images: The number of images to generate.
- Image Height/Width: Sets the dimensions of the image. Note that Stable Diffusion was trained on 512 x 512 (default setting). Other sizes may produce poorer results and require more time.
- Steps: This corresponds to the number of steps used to build information about the image. Setting a lower number speeds up generation and can be useful when exploring different prompts.
- Batch Size: This tells DiffusionBee to generate multiple images at once. New batches will be created until the "Num Images" count is reached. (It's usually better to just increase the number of images instead.)
- Guidance Scale: This corresponds to how closely Stable Diffusion should follow the prompt. Higher values mean a stricter interpretation.
- Seed: A number between 0 and 4,294,967,295 used as the starting point for image generation. If the same seed, prompt, and settings are used (except for steps, which can vary), the same image will be generated. If left blank, a random seed will be used.
Negative Prompt
Enabling the negative prompt option allows you to add descriptions of things to avoid in the generated image, combined with the standard prompt. As with standard prompts, the model's understanding of negative prompts is not perfect, so things described in the negative prompt may still appear in the image.
Image to Image
The image-to-image feature can be used to create images based on a starting image (usually a very rough sketch) combined with a text description.
Click the left pane to upload a sketch as the starting image (only PNG supported). Add a text description of the desired output, then press Generate. The generated image will be 512 x 512 pixels.
- The Options button provides the following settings:
- Input Strength: This tells DiffusionBee how closely to follow the sketch input image. For rough sketches, you typically want a lower value.
- Num Images: The number of images to generate.
- Steps: The number of steps used to build image information. A lower number speeds up generation and can be useful when exploring different prompts.
- Seed: A number between 0 and 4,294,967,295 used as the starting point. If the same seed, image, prompt, and settings are used (except for steps, which can vary), the same image will be generated. If left blank, a random seed will be used.
Inpainting
The inpainting feature is used to replace/redraw certain parts of an image, such as adding a bowtie to a cat or removing a car from a street photo.
To use inpainting, add an image and doodle over it to mask the area you want DiffusionBee to redraw. You'll generally get better results if the masked area is larger than the part you actually want to change. Currently, the inpainting model has a maximum height of 512 pixels, so any image larger than that will be scaled down to fit.
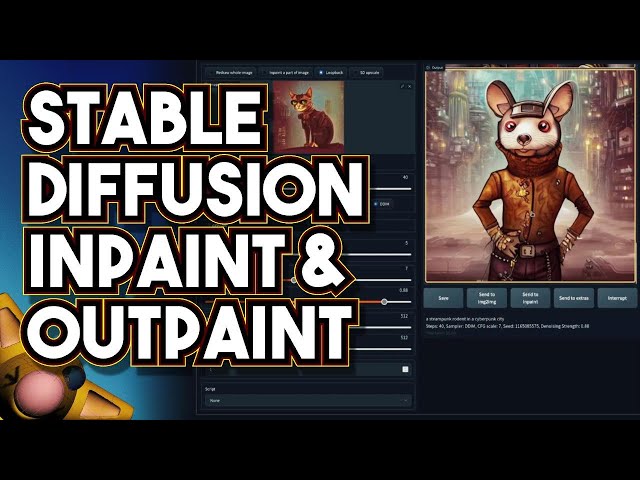
Outpainting
The outpainting feature is used to extend an image into a larger area.
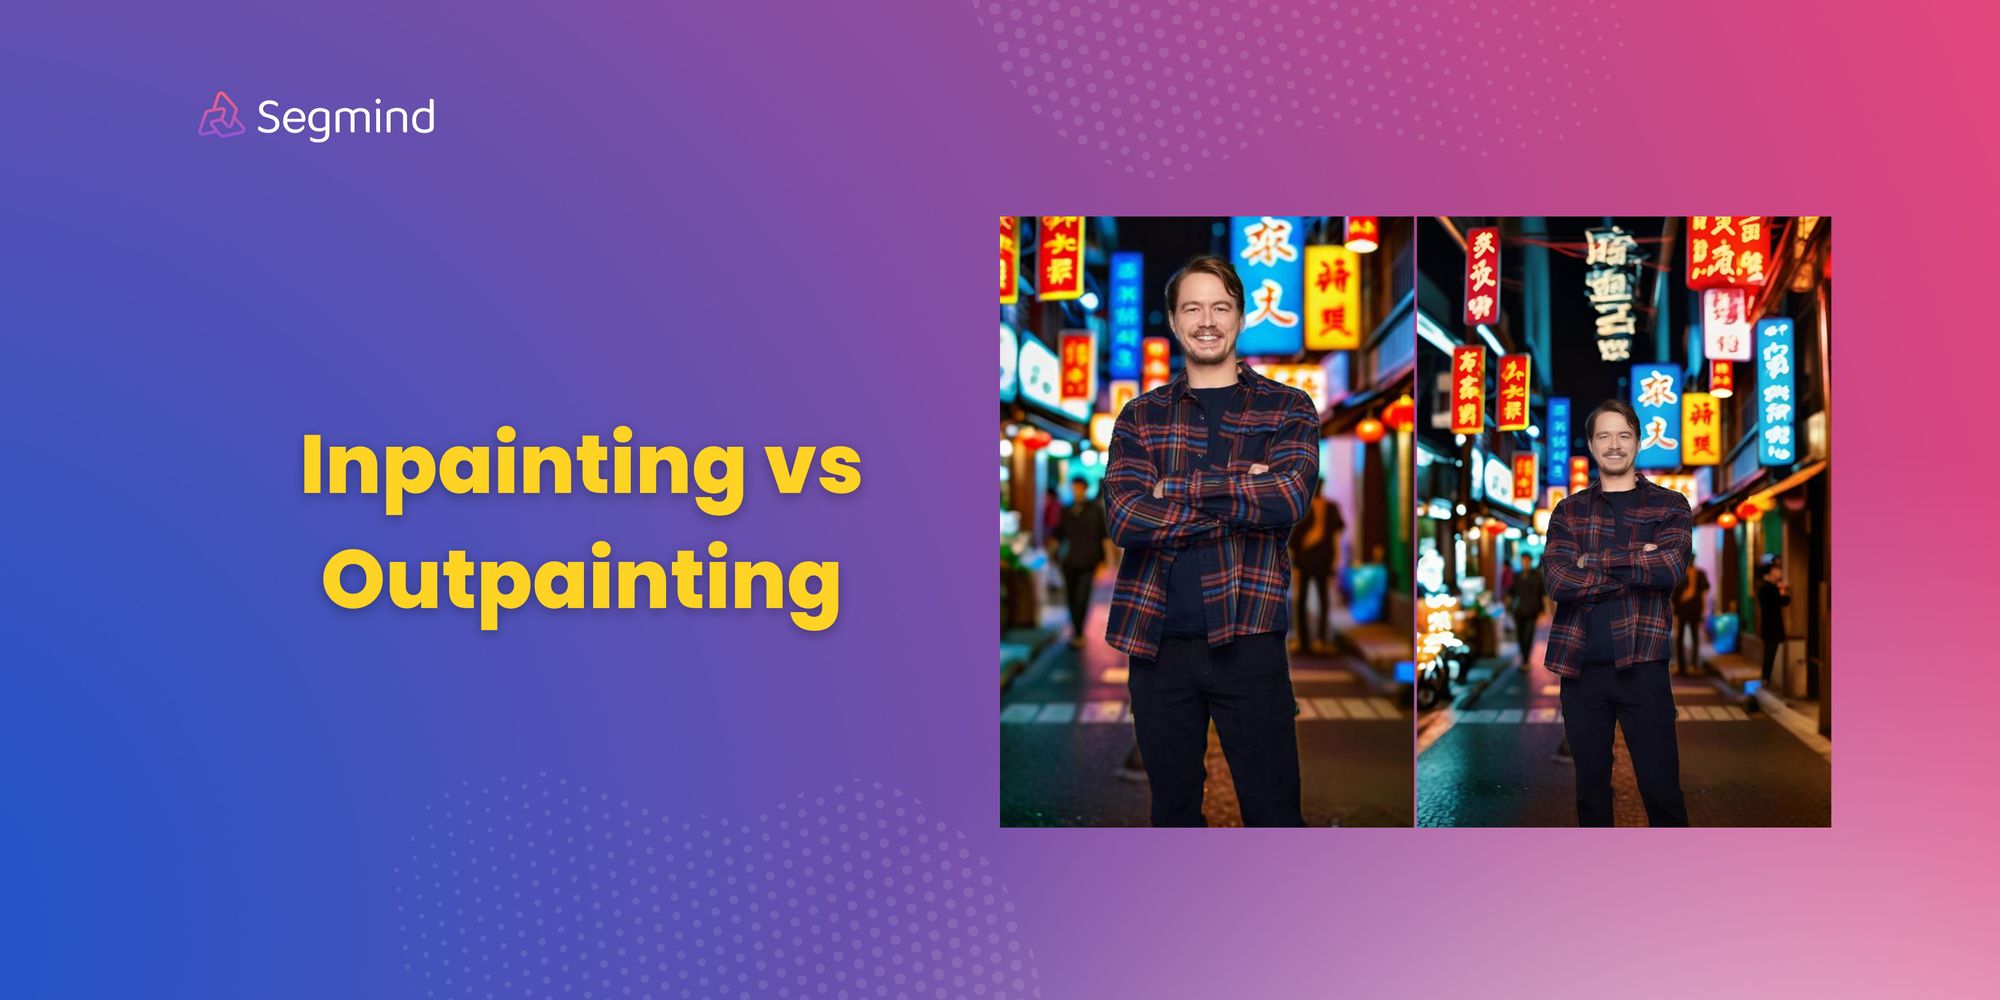
To use outpainting, add an image and move the 512x512 frame to the position where you want to extend the image, then provide a text prompt. The process can be repeated multiple times to extend the image in different directions.
Generation Time
Tested on a Mac Mini with M2 chip and 16GB RAM, generating a 512x512 image takes approximately 20-22 seconds. If you switch to a 256x256 image, it only takes about 5 seconds. You can generate images at a lower resolution first, then upscale them.
While not the fastest option, Diffusion Bee is a great choice thanks to its simple, plug-and-play installation.