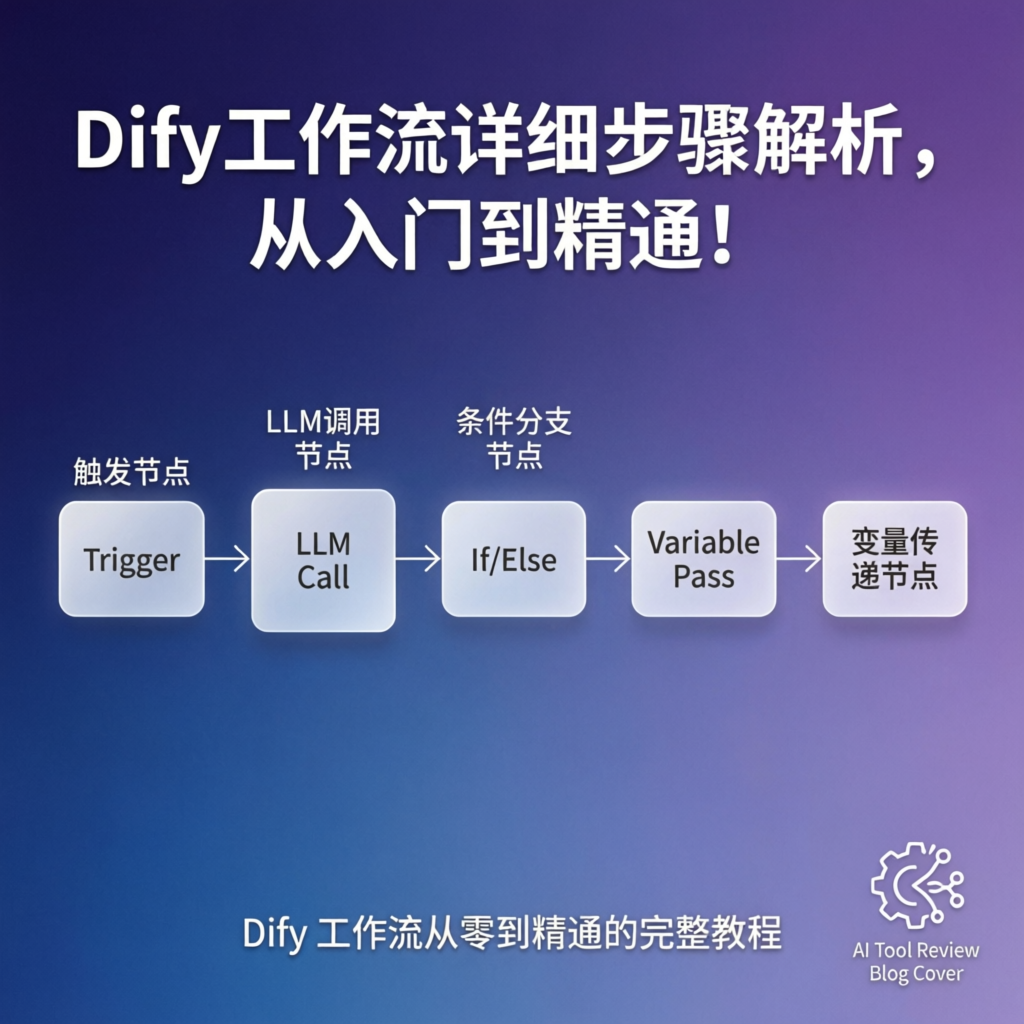
We previously gave a brief introduction to Dify workflows and the efficiency gains they can deliver. Many readers expressed strong interest in how to actually build one, so today we’ll walk through the full process of creating a Dify workflow from scratch.
1. Preparation
Before building a workflow, let’s first get familiar with the core concepts and operations of the Dify platform.
- Nodes: Nodes are the basic building blocks of a workflow. Each node represents a specific operation — receiving user input, calling a large language model, processing data, and so on.
- Connectors: Connectors link nodes together and define the execution order of the workflow.
- Variables: Variables store data and pass it between nodes.
2. Creating a Workflow
Log in to the Dify platform, click “Create Blank Application,” then select “Workflow.” Give your workflow a name — for example, “Xiaohongshu Viral Content Creation Workflow.”
3. Adding Nodes
Dify offers a rich set of node types to handle all kinds of tasks. Using the Xiaohongshu viral content workflow as an example, we’ll add the following nodes:
-
Start Node: Every workflow needs a start node to accept user input parameters. In the start node’s settings, we’ll add four input fields: Source, Style, Title Count, and Content Length.
- Source: Can be a topic or a news link.
- Style: e.g., cute, professional, etc.
- Title Count: e.g., 3 titles.
- Content Length: e.g., around 100 characters.
-
Question Classifier Node: Determines whether the Source field is a URL or a topic/keyword.
- Input Variable: Source
- Model: GPT-3.5
- Classification: URL link vs. topic/keyword
-
Custom Tool Node: If the source is a URL, this node fetches the web page content. You can create a custom tool through the tool menu.
-
Content Outline Generator Node: If the source is a topic, this node generates a content outline.
- Model: GPT-3.5
- Task Requirements:
- System Prompt: You are a Xiaohongshu viral content expert. Write Xiaohongshu posts based on the user’s topic, with content around 100 characters.
- User Prompt: The topic is as follows:\
Start/{x}content
-
Variable Assignment Node: Merges the results from the two branches above into a single variable for downstream nodes.
- Variable Type: Choose the appropriate type
- Variable Value: The output from the two nodes in the previous step
-
Title Generation Node: Generates viral Xiaohongshu titles based on the previous node’s output.
- Model: GPT-3.5
- Task Requirements:
- System Prompt: You are a Xiaohongshu viral content expert. Write {x} viral titles (with appropriate emojis).\
I. For Xiaohongshu titles, you have the following skills:\\- Use the two-level title technique.\\
- You excel at crafting attention-grabbing titles.\\
- Use viral keywords — randomly pick 1-2 from this list when writing titles.\\
- You understand Xiaohongshu’s title conventions.\\
- You know the rules of creation.\
II. Combine the information I provide with your title expertise to write the titles; Output format:\\ - Title One;
- User Prompt:\
Here is the content:\
Start/{x}output
- System Prompt: You are a Xiaohongshu viral content expert. Write {x} viral titles (with appropriate emojis).\
-
Content Writing Node: Writes the Xiaohongshu post content.
- Model: GPT-4 recommended
- Task Requirements:
- System Prompt: You are a Xiaohongshu viral content expert. Based on the user’s content, write a viral Xiaohongshu post (each paragraph should contain appropriate emojis, and end with relevant hashtags)\
I. For Xiaohongshu posts, you have the following skills:\\- Writing style\\
- Opening techniques\\
- Text structure\\
- Engagement hooks\\
- Pro tips\\
- Power words\\
- Extract 3-6 SEO keywords from your draft, generate #hashtags and place them at the end\\
- Keep each sentence conversational and concise\\
- Use emojis at the beginning, middle, and end of each paragraph\
II. Combine the reference titles and content I provide with your copywriting expertise, write the Xiaohongshu post in {x}style style (length: approximately {X}length characters);
- User Prompt:\
Reference titles:\
{x}text\
Content:\
{x}output
- System Prompt: You are a Xiaohongshu viral content expert. Based on the user’s content, write a viral Xiaohongshu post (each paragraph should contain appropriate emojis, and end with relevant hashtags)\
-
Content Formatting Node: Handles formatting issues such as adding line breaks. You can use a Code Execution Node to write simple Python or JavaScript code.
-
Upload Node: Uploads the generated titles and content to your target platform, such as Notion. You can use an HTTP-type node to send requests.
-
Template Conversion Node: Merges the generated Xiaohongshu titles and content, then produces the final output.
4. Connecting Nodes
Connect all nodes in logical order using connectors.
5. Testing and Publishing
Click the “Run” button in the upper-right corner to test your workflow. If everything works correctly, click “Publish” so others can use your workflow too.
Tips for Using Dify Workflows
- Break tasks down wisely: Splitting complex tasks into smaller ones improves AI model efficiency and makes workflows easier to understand and maintain.
- Leverage variables: Use variables to store and pass data, making your workflows more flexible.
- Make use of system variables: Dify provides many system variables — user ID, app ID, etc. — that you can use to log and analyze workflow execution.
- Integrate external tools and APIs: Dify can connect to various external tools and APIs — search engines, image generators, and more — greatly expanding your workflow’s capabilities.
Summary
Dify workflows are a powerful automation tool that lets you hand off repetitive tasks to AI, freeing up time for more creative work. We hope this guide helps you get started quickly and build your own automated workflows!