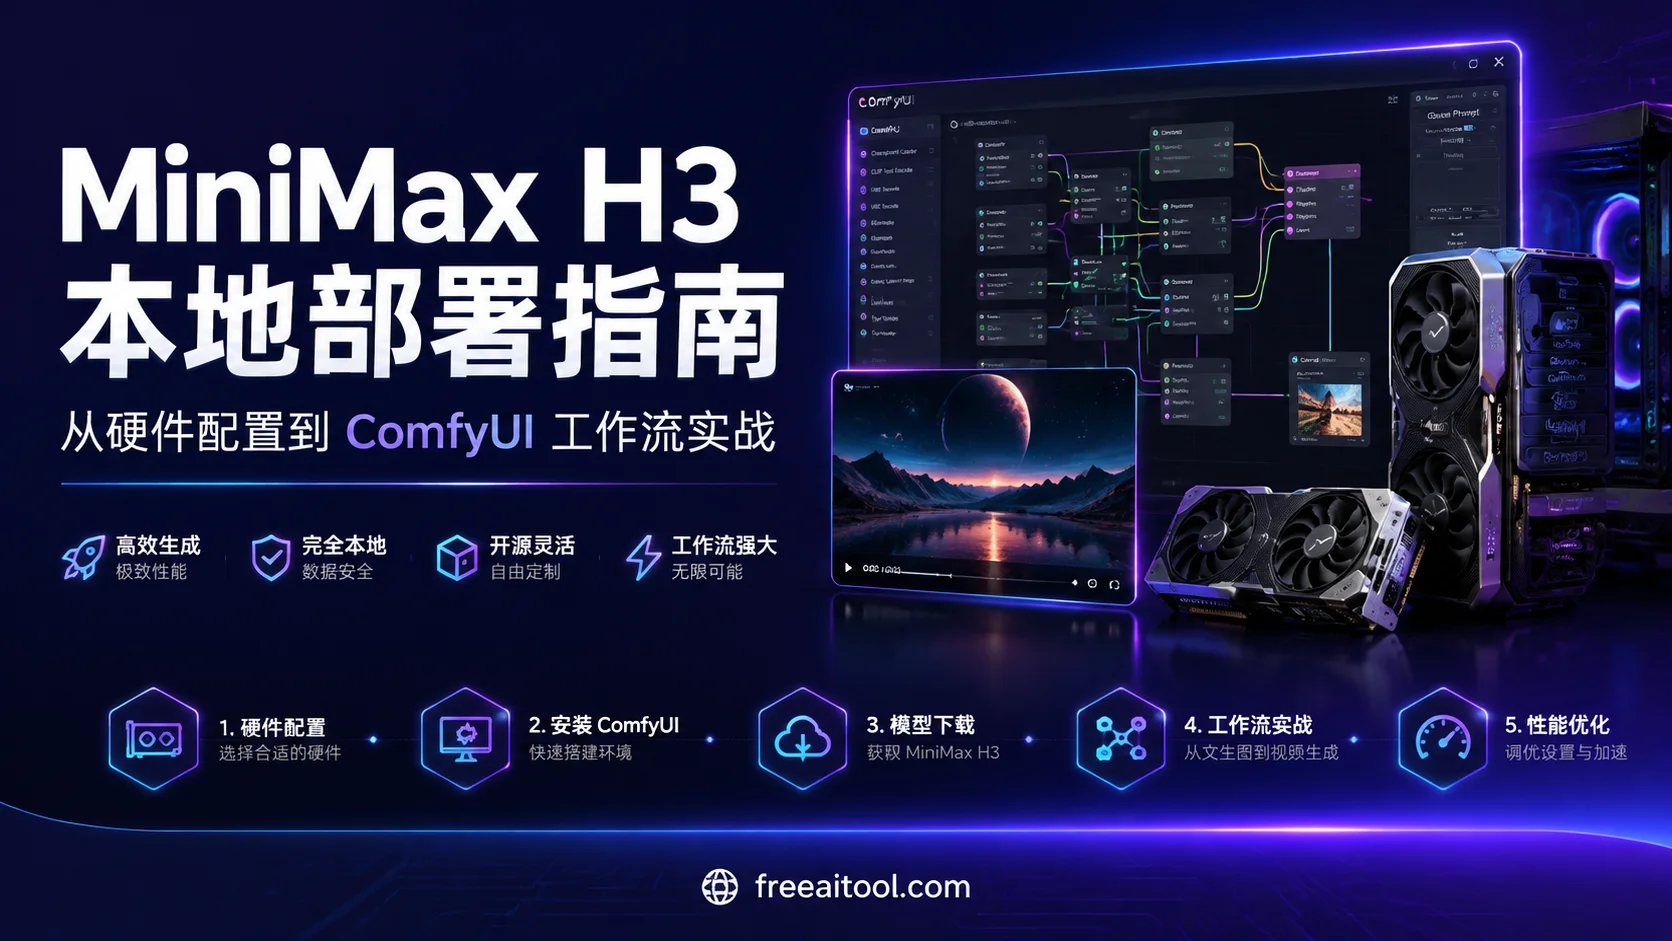
MiniMax H3 Complete Local Deployment Guide: From Hardware Setup to ComfyUI Workflows
MiniMax H3 is a general-purpose omni-modal generation model released by MiniMax, now available with open weights. It can jointly understand text, images, video, and audio within a single context, and generate video with native stereo audio — speech, sound effects, and music are all modeled together in a single forward pass, rather than being layered on after the fact.
Output supports up to 2K resolution at 24fps, with a duration of approximately 15 seconds. More importantly, H3 is now open source, giving you full control over every parameter locally.
This guide will walk you through the complete local deployment of MiniMax H3 from scratch, covering hardware configuration, ComfyUI installation, model downloads, three practical workflow types, and performance optimization tips.
1. Hardware Requirements: Can Your PC Run It?
MiniMax H3 has demanding hardware requirements, but it has entered the reach of high-end consumer GPUs. Based on community benchmarks, here are the recommended configurations for different GPU tiers:
GPU Tier List
| VRAM | GPU Model | Quantization | Use Case |
|---|---|---|---|
| 24GB+ (RTX 5090/4090) | Flagship | FP16 / BF16 | Full quality generation, fastest speed |
| 16GB (RTX 4080 etc.) | High-end | Q5 / Q4 | Balance between quality and speed |
| 12GB (RTX 3060/4070 Ti etc.) | Mainstream | Q4 / pruned INT8 + NVFP4 | Recommended config, tested and working |
| 8GB | Entry-level | Extreme quantization | Barely works, but experience is poor |
Minimum Configuration
- GPU: NVIDIA RTX 3060 12GB (the floor confirmed by ComfyUI officially)
- RAM: 32GB (mandatory — 16GB will run out of memory)
- OS: Windows 10/11 or Linux
- ComfyUI version: 0.30.0 or higher
Recommended Configuration (Smooth Experience)
- GPU: RTX 4080 16GB or higher
- RAM: 32GB DDR4/DDR5
- Storage: SSD (model files are large; mechanical HDDs load slowly)
💡 Benchmark data: An RTX 4090 48GB (modified version) can run full-precision models smoothly; an RTX 4080 16GB with quantized versions balances quality and speed; an RTX 3060 12GB with 32GB RAM can complete generation, but takes significantly longer.
2. Installing ComfyUI
ComfyUI is the best platform for running MiniMax H3, with official native support for H3 workflows.
2.1 Download ComfyUI
Option 1: Official Installer (Recommended for Beginners)
Visit the ComfyUI official website to download the installer for your system:
- Windows:
.exeinstaller - macOS:
.dmginstaller - Linux: AppImage or manual installation
Option 2: Install from GitHub Source (Recommended for Advanced Users)
# Clone the repository
git clone https://github.com/comfyanonymous/ComfyUI.git
cd ComfyUI

# Create a virtual environment (recommended)
python -m venv venv
source venv/bin/activate  # Linux/macOS
# venv\Scripts\activate   # Windows

# Install dependencies
pip install -r requirements.txt
2.2 Update to 0.30.0+
MiniMax H3 requires ComfyUI version 0.30.0 or higher. If you have an older version, please update:
# For source installation
git pull
pip install -r requirements.txt --upgrade
If using the official installer, it will automatically check for updates on launch.
2.3 Launch ComfyUI
# For source installation
python main.py

# Or use the launch scripts
# Windows: run_nvidia_gpu.bat
# macOS: run_macos.sh
# Linux: run_nvidia_gpu.sh
After launching, visit http://127.0.0.1:8188 to access the interface.
3. Downloading MiniMax H3 Model Files
MiniMax H3 model files are hosted on the Comfy-Org/MiniMax-H3 repository on Hugging Face.
3.1 Model File Inventory
Depending on the workflow type you use, you’ll need to download different model files:
Text-to-Video (T2V) and Image-to-Video (I2V) Workflows
ComfyUI/
├── models/
│   ├── diffusion_models/
│   │   └── minimax_h3_fl2va_pruned_int8_convrot.safetensors
│   ├── text_encoders/
│   │   └── qwen3vl_32b_minimax_h3_nvfp4_awq.safetensors
│   └── vae/
│       ├── minimax_h3_video_vae_fp16.safetensors
│       └── minimax_h3_audio_vae_fp32.safetensors
Reference-to-Video (R2V) Workflows
ComfyUI/
├── models/
│   ├── diffusion_models/
│   │   └── minimax_h3_ref2va_pruned_int8_convrot.safetensors  # Note: different diffusion model
│   ├── text_encoders/
│   │   └── qwen3vl_32b_minimax_h3_nvfp4_awq.safetensors  # Shared
│   └── vae/
│       ├── minimax_h3_video_vae_fp16.safetensors  # Shared
│       └── minimax_h3_audio_vae_fp32.safetensors  # Shared
3.2 Download Methods
Option 1: Using Hugging Face CLI (Recommended)
# Install huggingface_hub
pip install huggingface_hub

# Download individual files
huggingface-cli download Comfy-Org/MiniMax-H3 \
  minimax_h3_fl2va_pruned_int8_convrot.safetensors \
  --local-dir ./ComfyUI/models/diffusion_models/

# Download text encoder
huggingface-cli download Comfy-Org/MiniMax-H3 \
  qwen3vl_32b_minimax_h3_nvfp4_awq.safetensors \
  --local-dir ./ComfyUI/models/text_encoders/

# Download VAE
huggingface-cli download Comfy-Org/MiniMax-H3 \
  minimax_h3_video_vae_fp16.safetensors \
  --local-dir ./ComfyUI/models/vae/

huggingface-cli download Comfy-Org/MiniMax-H3 \
  minimax_h3_audio_vae_fp32.safetensors \
  --local-dir ./ComfyUI/models/vae/
Option 2: Manual Browser Download
Visit the Hugging Face repository, click the download button next to each file, and manually save them to the corresponding directories.
Option 3: Using ComfyUI Auto-Download
ComfyUI 0.30.0+ supports automatic downloading of missing model files. When you run a MiniMax H3 workflow for the first time, if models are detected as missing, a prompt will guide you through the download process.
3.3 Model File Size Reference
- Diffusion model: ~10-15 GB (quantized version)
- Text encoder: ~20 GB (Qwen3-VL 32B)
- VAE: ~1-2 GB
💡 Tip: If your network is slow, you can use a Hugging Face mirror or download accelerator.
4. Three Workflow Types in Practice
The ComfyUI template library provides three MiniMax H3 example workflows, covering three generation modes.
4.1 Text-to-Video (T2V)
Function: Generate video with native stereo audio from text prompts.
Steps:
- Open ComfyUI, click Workflow → Browse Templates in the top menu
- Find MiniMax H3 T2V in the Video category
- Click to load the workflow
- Enter your prompt in the Prompt node
- Adjust the Resolution Selector node to set output resolution
- Click Queue Prompt to start generation
Prompt Tips:
- Describe the whole scene: Start with the overall scene (location, characters, what’s happening), then break it down chronologically into multiple shots
- Shots, camera, and audio: Describe camera movements and accompanying audio (dialogue, sound effects, music) in the same prompt block
- Resolution: H3’s native canvas short edge is 768px, with an upper limit of 768×1344 pixels, rounded to multiples of 32
- Duration: Duration input aligns to the model’s 17-frame grid at 24fps
Example Prompt:
A young girl stands at the edge of a city rooftop, sunset light on her face. She turns to look at the camera and smiles, saying: "Hello, world."
The camera slowly pushes in as city lights gradually come alive in the background. Traffic sounds and a gentle breeze drift in from the distance.
4.2 Image-to-Video (I2V)
Function: Generate video from an input image, with optional first/last frame keyframe specification.
Steps:
- Load the MiniMax H3 I2V workflow template
- Upload your input image in the Load Image node
- Optional: Connect another image to the last_frame input as the ending frame
- Enter a prompt describing the desired motion and audio
- Adjust parameters and generate
Prompt Tips:
- Keyframes:
first_frameandlast_frameinputs are optional; the model generates motion between them - Prompts: Describe camera movement, action, and accompanying audio in the same text block
Example Prompt:
The camera slowly orbits around the product, showcasing 360-degree details. The background stays pure white with soft lighting from above.4.3 Reference-to-Video (R2V)
Function: Generate video from any combination of reference images, videos, and audio — locking in characters, style, motion, camera movement, or sound.
Steps:
- Load the MiniMax H3 R2V workflow template
- Upload character reference images (up to 9) in the Picture input node
- Upload style/motion reference videos (up to 3) in the Video input node
- Upload sound reference audio (up to 3) in the Audio input node
- Enter prompts, referencing each input by tag
Prompt Tips:
- Reference by tag: Reference each input by tag, in the exact order they are connected, e.g.,
<Picture 1>,<Video 1>,<Audio 1> - Assign tasks to each reference: Specify which reference is responsible for which part of the output (identity, style, motion, camera, sound)
Example Prompt:
The character from <Picture 1> wears a red cloak, standing on a city rooftop. The camera movement from <Video 1> is applied:
a low-angle shot slowly rising. The character's motion references <Video 2>: turning to gaze into the distance.
Background audio references <Audio 1>: wind sounds and distant city traffic.Limitations:
- Up to 9 reference images
- Up to 3 reference videos (each can carry its own soundtrack)
- Up to 3 independent reference audio clips
ref_image_size:matchdownscales references to the generation resolution for speed;maxpreserves up to 2048px on the short side for stronger identity fidelity
⚠️ Note: R2V uses the
ref2vadiffusion model, which is a different set of weights from thefl2vamodel used by T2V and I2V workflows. Make sure you download the correct model files.
5. Performance Optimization: Accelerate Generation with Sage Attention
The default workflow uses standard attention implementation. Using Sage Attention can roughly double generation speed with minimal quality loss.
5.1 Installing Sage Attention
- Visit the SageAttention releases page
- Download the wheel file matching your PyTorch and CUDA versions
- Install:
pip install sageattention-<version>+cu<cuda_version>-cp<python_version>.whl5.2 Installing KJNodes Custom Nodes
Sage Attention is used through nodes provided by KJNodes:
Option 1: Using ComfyUI Manager (Recommended)
Open the Manager in ComfyUI, search for KJNodes, and install it.
Option 2: Manual Installation
cd ComfyUI/custom_nodes/
git clone https://github.com/kijai/ComfyUI-KJNodes.git
# Restart ComfyUI
5.3 Using It in Workflows
- Add a Patch Sage Attention KJ node to your workflow
- Connect it between the UNETLoader and BasicGuider nodes:
modelinput receives the model from UNETLoadermodeloutput connects to BasicGuider’smodelinput
- Set
sage_attentiontoauto - Run the workflow as usual
Global Enable Method:
Launch ComfyUI with the following argument:
python main.py --use-sage-attentionThis eliminates the need to add the node to every workflow.
💡 Tip: Sage Attention requires float16 or bfloat16 tensors. Some layers in MiniMax H3 use other data types, so you may see warning messages in the console. This is normal; affected layers fall back to standard attention, and generation still works correctly.
6. Frequently Asked Questions
Q1: Why is my generation speed so slow?
Possible causes:
- Insufficient VRAM, using excessive quantization
- Insufficient RAM (32GB required)
- Sage Attention not enabled
- Resolution set too high
Solutions:
- Lower the resolution (set megapixels to 0.5-0.8)
- Enable Sage Attention
- Close other memory-intensive programs
- Consider upgrading your GPU
Q2: The generated video has no sound?
Checklist:
- Make sure you downloaded
minimax_h3_audio_vae_fp32.safetensors - Your prompt describes audio content (dialogue, sound effects, music)
- Audio output nodes are connected correctly in the workflow
Q3: Can an RTX 3060 12GB run it?
Yes, but keep in mind:
- Use quantized versions (pruned INT8 + NVFP4)
- RAM must be 32GB
- Generation takes longer (possibly 5-10 minutes per video)
- Don’t set the resolution too high
Q4: How can I improve video quality?
Recommendations:
- Use higher quality quantization schemes (Q5 instead of Q4)
- Increase resolution (set megapixels to 1.0)
- Write careful prompts, referring to the official prompt guide
- Use Reference-to-Video (R2V) to lock in characters and style
Q5: How long can the generated videos be?
Currently, MiniMax H3 generates approximately 15 seconds per generation (24fps). For longer videos, you can:
- Generate multiple clips and stitch them together
- Use the last frame of Image-to-Video (I2V) as the first frame of the next segment for continuous generation
7. Advanced Resources
- ComfyUI Official Documentation: MiniMax H3 Tutorial
- MiniMax H3 Prompt Guide: Official Documentation
- Hugging Face Model Repository: Comfy-Org/MiniMax-H3
- Community Workflow Sharing: GitHub - ComfyUI_MiniMaxH3_Director
8. Summary
The open-sourcing of MiniMax H3 brings new possibilities to the video generation field. With ComfyUI, you can fully control the generation process locally — from hardware configuration to prompt writing, every aspect can be fine-tuned.
Key Takeaways:
- Hardware Requirements: RTX 3060 12GB is the minimum; RTX 4080 16GB is recommended
- Installation Steps: ComfyUI 0.30.0+ → Download model files → Load workflows
- Three Workflow Types: T2V (text-to-video), I2V (image-to-video), R2V (reference-to-video)
- Performance Optimization: Enable Sage Attention for roughly 2x speedup
- Prompt Tips: Describe scenes, camera movements, and audio; reference materials by tag
You now have the complete workflow for deploying MiniMax H3 locally. Start creating your AI videos!
📌 Further Reading: